Delidding The AMD Ryzen 5 2400G APU: How To Guide and Results
by Gavin Bonshor on May 10, 2018 8:00 AM EST- Posted in
- CPUs
- Guides
- APUs
- Ryzen
- Ryzen 3 2200G
- Ryzen 5 2400G
- Delidding
- Delid
Delidding The AMD Ryzen 5 2400: Preparing The APU For Use
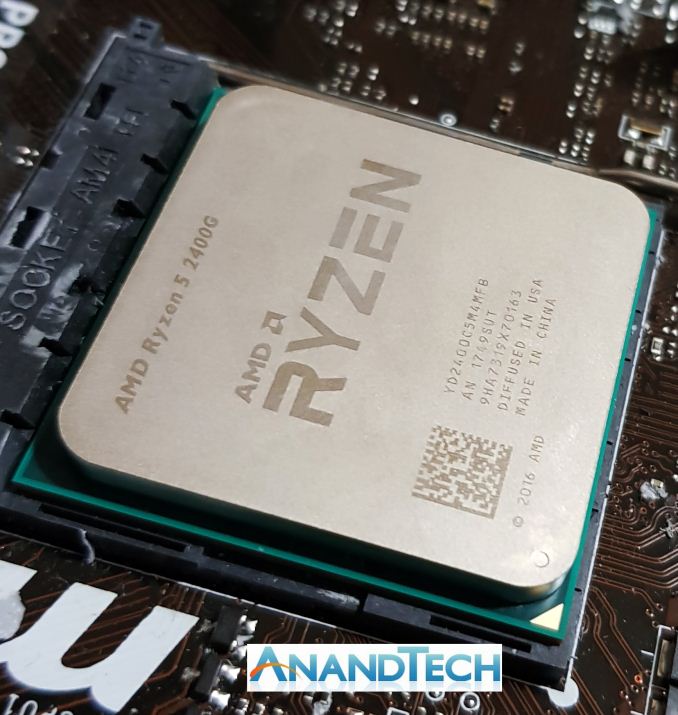
Now that the Ryzen 5 2400G has been successfully delidded without any damage, it is now time to prepare the Ryzen 5 2400G ($169) for use; in our case, on the test bench to see what/if there are any thermal benefits of changing the stock paste applied, as well as available overclocking headroom as a result of this process.
Step 9 – Removing the Glue from the IHS and CPU
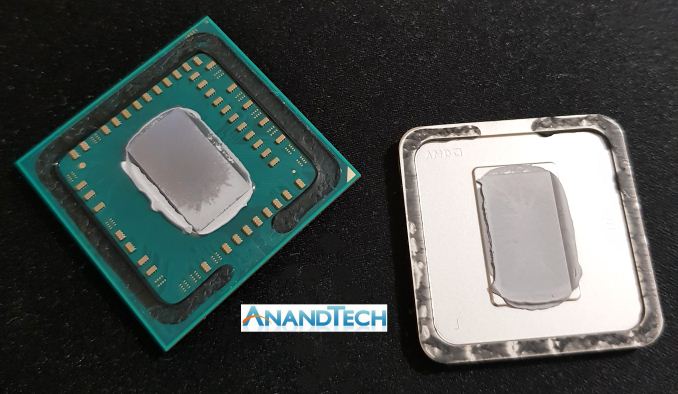
The next step is to remove the black glue that was holding the IHS to the CPU package. Both the CPU package and the IHS is likely to have this glue, as a delid is often not a clean separation. The picture above shows the black stuff.
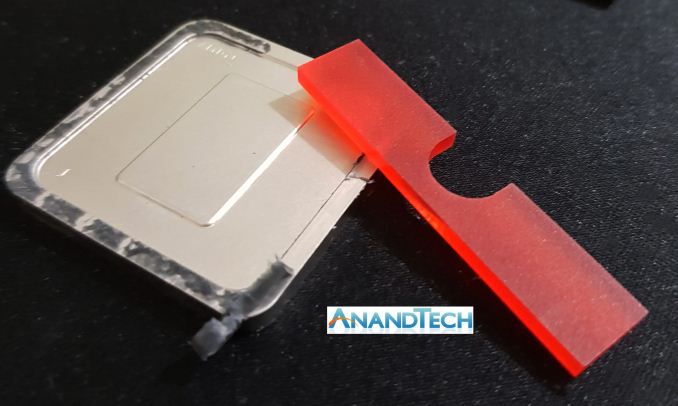
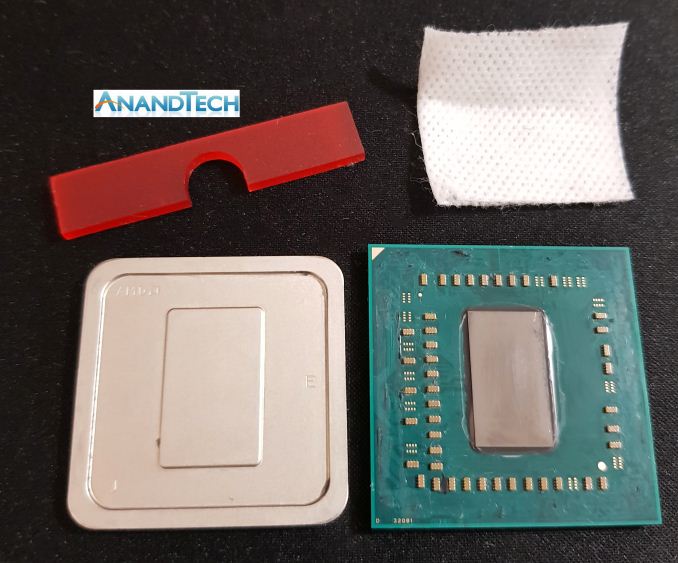
Not only does the included acrylic adapter with the Delid Die Mate 2 AMD kit act as a layer of protection for the CPU pins on the Ryzen 2000 series APUs, but as the acrylic itself is softer than silicon, it can be used safely to remove the glue from both the IHS and chip.
Step 10 – Cleaning The APU
It’s a good idea once the glue has been removed and scraped from the IHS and APU, that both surfaces are cleaned to remove any residue from the thermal paste and glue themselves. A single alcohol wipe comes included with the Thermal Grizzly Conductonaut Liquid Metal ($16) which is good as it will remove all traces of thermal paste from the die.
Step 11 – Applying Liquid Metal Thermal Paste to the Die and Heat Spreader
Once both surfaces are clean, it’s time to update the TIM. The best user-applicable TIM is based on liquid metal: a compound designed to embed and fuse itself between the CPU die and the heat spreader. For our testing, we use Thermal Grizzly Conductonaut, designed especially for this use case, however others are available (such as CoolLaboratory LIQUID Pro).
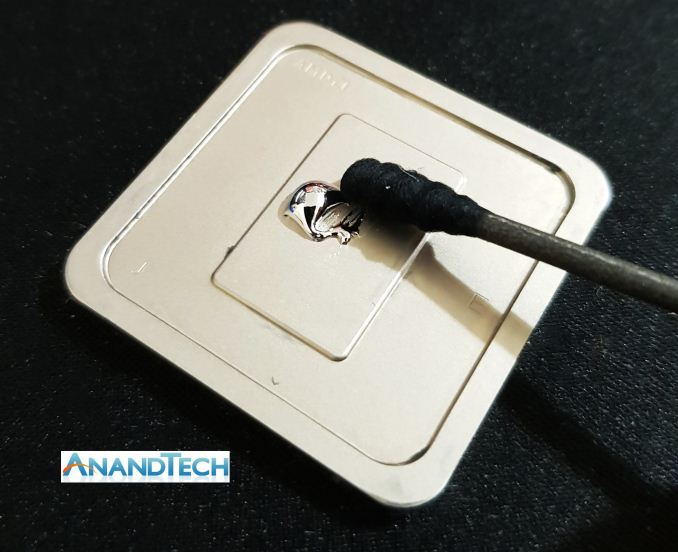
As per the instructions, apply a liberal amount of the liquid metal to both the IHS and the die. The trick is to start with a small amount and use the included black Q-tip provided to patiently spread the liquid metal across the surface. Only the die surface area needs covering and this is important as liquid metal is highly conductive and if any were to get on any of the other components around the silicon die of the chip, it’s likely to short out and die making the whole process futile and fruitless.
Liquid metal can be tricky to use and apply, but the method is to be persistent as takes a little bit of time for the liquid metal to stick, but once it does, it’ll start spreading much easier. The key is to start small, slowly and most importantly, carefully when applying liquid metal. Another caveat is using too much: if you use too much, when you place the heat spreader back on the CPU, the excess will escape due to the pressure. If this happens and it touches the other components, when powered on it will short out and most likely fry your chip. If you have lots of dark puddles, you can simply use the Q-tip to remove excess or if you manage to get it around outside of the raised section of the IHS or on the SMDs, pure acetone (not containing aqua) is the easiest method of removing it.
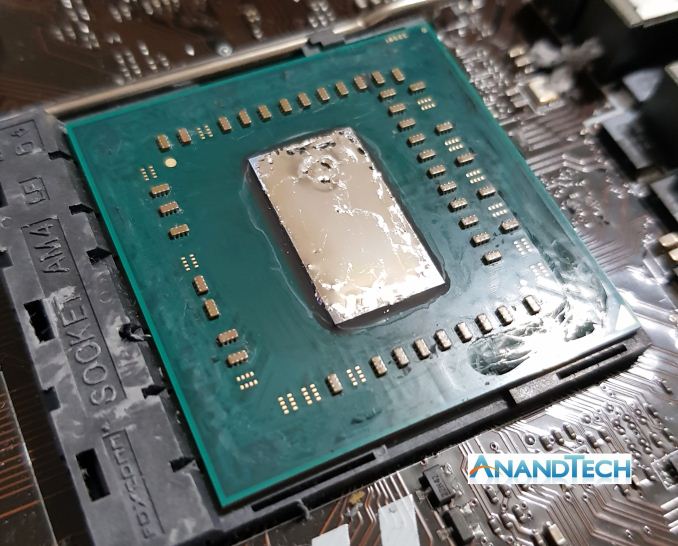
Nearly ready, some excess liquid metal needs removing before adding the IHS
Step 12 – Adding the Heat Spreader and Installing the APU In the Socket
The best way of applying the liquid metal to the die of the Ryzen 5 2400G (or Ryzen 3 2200G) is doing it while the processor is out of the socket. This is to avoid any mishaps during application as liquid metal can be a very horrible substance to remove, although using acetone works wonders. The next step is placing the IHS back onto the heat spreader with as little movement once it is in place as physically possible. When delidding Intel processors that use a lane grid array socket such as LGA 1150 or LGA 1151 is the socket has a retention bracket which holds the IHS down in place; AMD PGA sockets do not have this function.
Some users can also apply a new silicon glue around the edge of the IHS to connect it to the package. This can make this stage of the process easier, however it does add additional height to the overall chip, potentially making the new TIM less effective.
Step 13 – Installing the CPU Cooler with Care, Precision and Patience
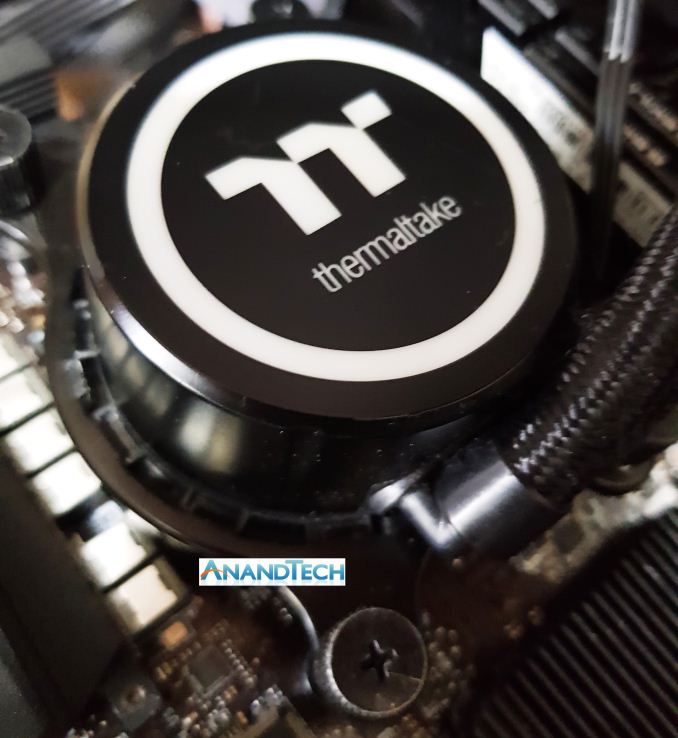
While the thought of delidding a CPU is daunting, for me personally, the hardest part when delidding an AMD Ryzen 2000 series APU is safely installing the CPU cooler without breaking that seal of liquid metal between the die and IHS. One wrong jerk could or misplacement could get liquid metal on one of the SMDs unknowingly which wouldn’t be visible until it was too late. After applying standard thermal paste between the IHS and cooler, while keeping the IHS straight, it’s a good idea to place the cooler on top without applying too much pressure but lining it up with the mounts so that the tightening applies the pressure as opposed to using body weight.
The cooler for our AMD motherboard test setup is the Thermaltake Floe Riing RGB 360 AIO which is considered as a high-performance CPU cooler and should in theory, provide a nice reduction in temperatures over non-delidded; the rationale is that the better the cooler, the lower the temperatures. When attaching the cooler to the APU and motherboard, I found placing it on top gently and centered worked well, while simultaneously screwing in two of the thumbscrews in a diagonal method to each other at the same time. This applies even amounts of pressure, or as even as you’re going to get to ensure the liquid metal isn’t disturbed too much. Installing the other two thumb screws finishes the installation process.
The most important attributes to take into consideration throughout the whole process when delidding a CPU/APU and installing is patience and care. TAKE YOUR TIME - it is not a sprint, but a marathon and one slight mistake can kill a chip.




73 Comments
View All Comments
MajGenRelativity - Thursday, May 10, 2018 - link
Thank you for the very detailed process description and results.gavbon - Thursday, May 10, 2018 - link
Not a problem :)Cellar Door - Thursday, May 10, 2018 - link
Thanks Gavin, top notch guide!eva02langley - Thursday, May 10, 2018 - link
How about the iGPU results? I was actually only looking for those to be honest.As for CPU scores alone, it doesn't worth it. However, for gaming... does it worth it?
gavbon - Thursday, May 10, 2018 - link
I do have a planned piece I need to finish up on the effects of GPU scaling on frame rates in games (average and 99th percentile). Overclocking, delidding, CPU frequency scaling, Memory scaling and iGPU scaling are the plan :)polyzp - Thursday, May 10, 2018 - link
This would be amazing! Would love to see the absolute peak performance (with gpu clock and ram speed and latency as priority over cpu speed). 3600 cl 14 on the ram would be ideal, or using the stilts 3466 llc setting for bdie.Lolimaster - Thursday, May 10, 2018 - link
Aside from temps delidding makes nothing else for the APU, you can get the same max igpu clock on any random 2400G.What we need to see is the limitis of the MC, 1700Mhz igpu OC + 3466 CL14 or 3600 CL15 memory if higher.
Lolimaster - Thursday, May 10, 2018 - link
OC the worthless cpu part hinders the max igpu clocks. It's 3.6Ghz base anyway...Ket_MANIAC - Thursday, May 10, 2018 - link
This is the real stuff. OCing the CPU to modest clocks like 3.8 is more than enough. Its the GPU OC which matters the most. Waiting for that part.wumpus - Thursday, May 10, 2018 - link
I'd certainly like to see OCs done with the stock heatsink. There's little point in watercooling a GPU with all the performance of a nvidia 1030...